Japanese Binding: A Beginner's Guide to Stab Binding
Explore the captivating world of Japanese binding, specifically stab binding! This tutorial breaks down the process step-by-step, making it perfect for beginners eager to create beautiful, sturdy handmade books. We'll cover materials, hole punching techniques, thread selection, and securing your book. Learn a traditional bookbinding technique and elevate your craft.
What is Stab Binding?
Stab binding, also known as Japanese stab binding (kobon binding), is a simple yet elegant bookbinding technique originating from Japan. It involves sewing signatures (folded sheets of paper) together through holes punched along the spine. Unlike Western bookbinding, it doesn't require a complex spine structure. This makes it incredibly accessible for beginners.
Materials You’ll Need
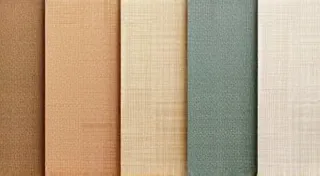
- Paper: Choose your paper carefully. Thinner paper works best for a flexible spine, while thicker paper provides more rigidity. Experiment! For this tutorial, we’re using 65gsm paper.
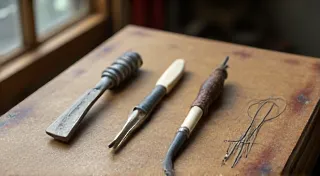
- Awl or Thick Needle: For piercing holes.
- Strong Thread: Cotton, linen, or waxed thread are excellent choices. Approximately 3 meters is a good starting point.
- Bone Folder: Essential for creasing paper and ensuring crisp folds.
- Ruler: For accurate measurements.
- Pencil: For marking hole positions.
- Cutting Mat (Optional): To protect your work surface.
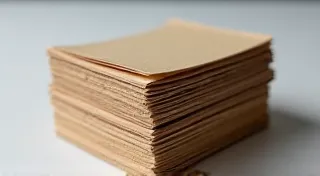
Step 1: Preparing Your Signatures
Fold your paper sheets in half to create signatures. Use your bone folder to ensure a clean, sharp crease. The number of sheets per signature depends on the paper thickness. Start with a few sheets and increase as you gain experience.
Step 2: Marking Hole Positions
This is crucial for a neat and secure binding. The most common pattern is a 4-hole binding. Place your signature stack on a flat surface. Using a ruler and pencil, mark the hole positions along the spine. The first and last holes should be about 1/2 inch from the edge of the spine. The distance between holes should be equal, typically around 1 to 1.5 inches. Accuracy here is key!
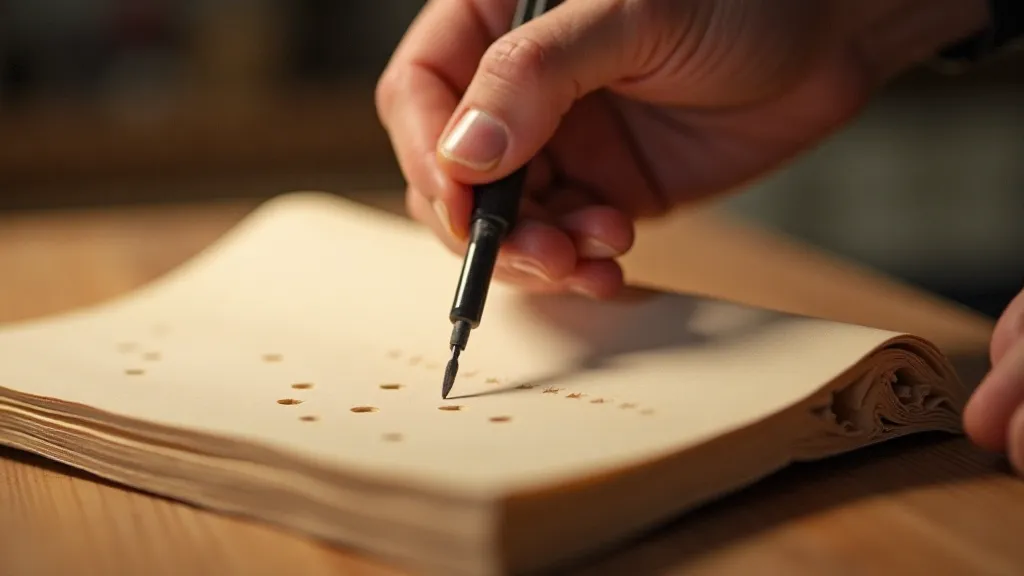
Step 3: Punching the Holes
Place your signature stack on a cutting mat (if you have one). Using your awl or thick needle, carefully pierce through all the layers of paper at each marked hole. A cutting mat will prevent damage to your work surface. Ensure the holes are clean and go completely through the paper.
Step 4: Sewing the Binding
This is the heart of the stab binding process. There are numerous stitching patterns, but we're demonstrating a simple four-hole chain stitch.
- Thread your needle with a length of thread approximately three times the height of your book.
- Start from the outside of the first hole, and pass the needle through.
- Go to the second hole and pass the needle from the inside to the outside.
- Go to the third hole and pass the needle from the outside to the inside.
- Go to the fourth hole and pass the needle from the inside to the outside.
- Now, you need to bring the needle back through the first hole, using the thread to create a loop that secures the binding.
- Pull the thread tight, securing the binding.
- Tie a knot (optional) or trim the thread tails.
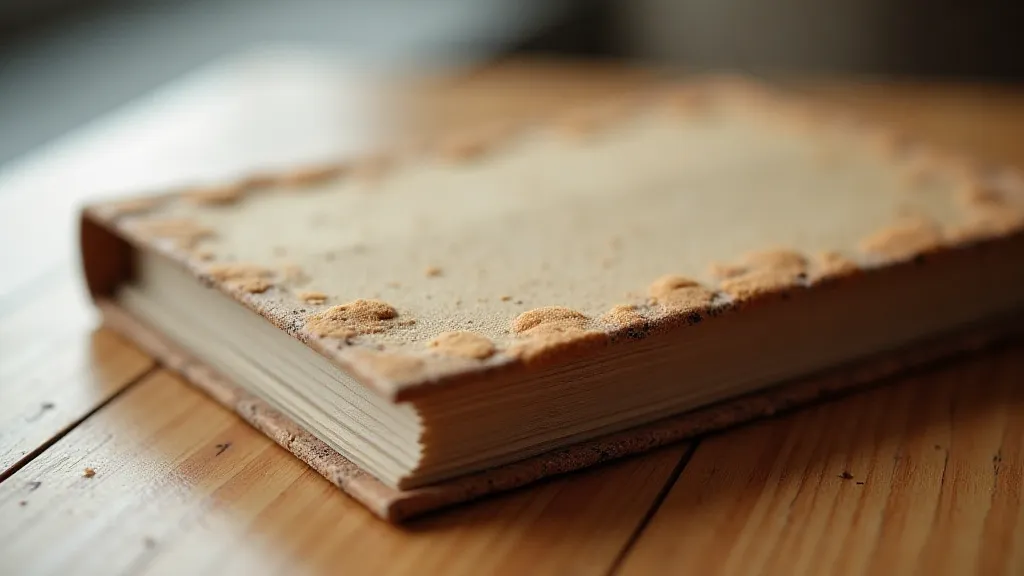
Step 2: Securing the Book
Once all the signatures are sewn together, you can gently press the book to flatten the spine. This will help the binding lay flat when the book is opened.
Tips and Troubleshooting
- Holes Not Aligning: Double-check your measurements and hole placement. Use a template if needed.
- Tight Spine: Use thinner paper or loosen your stitches.
- Loose Binding: Use thicker thread or tighten your stitches.
Conclusion
Japanese stab binding is a rewarding and accessible bookbinding technique. With a little practice, you'll be creating beautiful, handmade books in no time! Experiment with different paper types, thread colors, and stitch patterns to create unique and personalized creations.