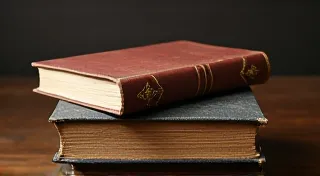
Perfecting the Long Stitch Binding: A Detailed Tutorial
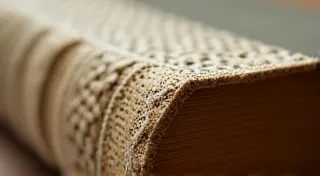
The Long Stitch binding is a fantastic entry point into the world of bookbinding. It's visually appealing, relatively simple to learn, and produces a remarkably strong and durable book. Its aesthetic, with the exposed stitching on the spine, lends itself beautifully to decorative thread and cover materials. This tutorial will guide you through each step, ensuring a professional-looking finished product. Whether you's a beginner or looking to refine your skills, this detailed guide has you covered.
Materials You'll Need
- Bookboard: A4 or A5 size, depending on your desired book dimensions. (Approximately 2mm thickness is ideal.)
- Paper: Your choice of paper for the book's pages. Consider the weight and texture – a slightly heavier paper (80-100gsm) works best.
- Thread: Strong, waxed linen or cotton thread. Choose a color that complements your cover material.
- Needle: A large-eyed bookbinding needle.
- Awl: For creating holes in the bookboard.
- Ruler: For precise measurements.
- Bone Folder: Essential for creating crisp folds.
- Cutting Mat and Craft Knife/Scissors: For cutting the bookboard and paper.
- Bookbinding Cradle or Weights: To hold the bookboard and paper in place. (Optional, but highly recommended!)
Step 1: Preparing the Bookboard
Accurate measurement is key! Decide on the height of your book (e.g., A5). Cut two pieces of bookboard to this height. The width will be determined by the number of pages and the desired spine thickness. A good starting point is 3mm for the spine for a standard-sized book. Mark the center point of each bookboard piece. Use your awl to create a small indentation at these center points – these will be your guide holes.
Step 2: Creating the Sewing Holes
Now, you’s going to create the sewing holes along the spine. The number of holes depends on the number of pages – typically 3-5 holes are sufficient. Mark the positions of the holes along the spine, ensuring they are equidistant. Use the awl to carefully create the holes, keeping the marks as precise as possible. Use a bookbinding cradle to hold the bookboard if you have one; otherwise, use weights to keep it steady.
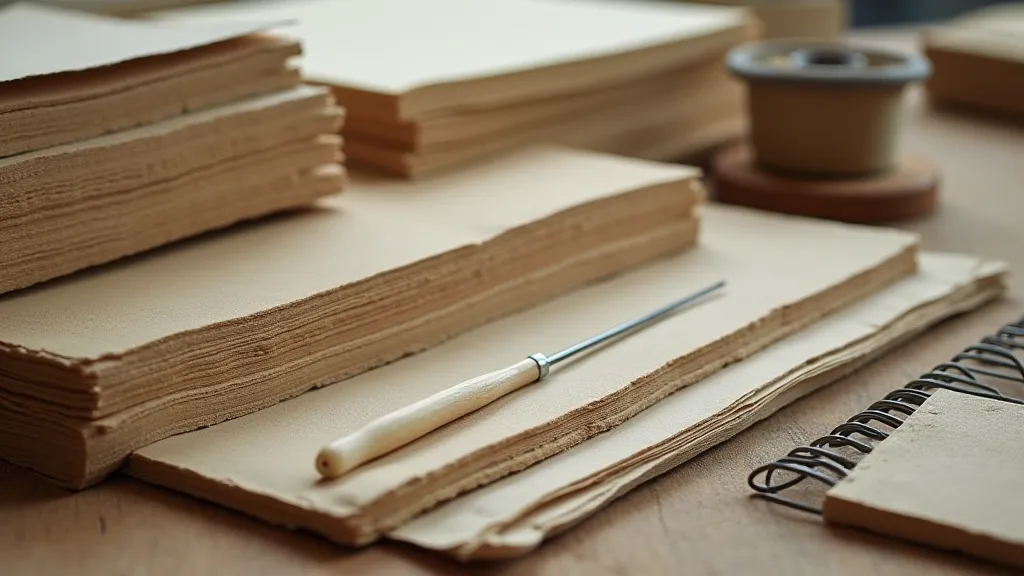
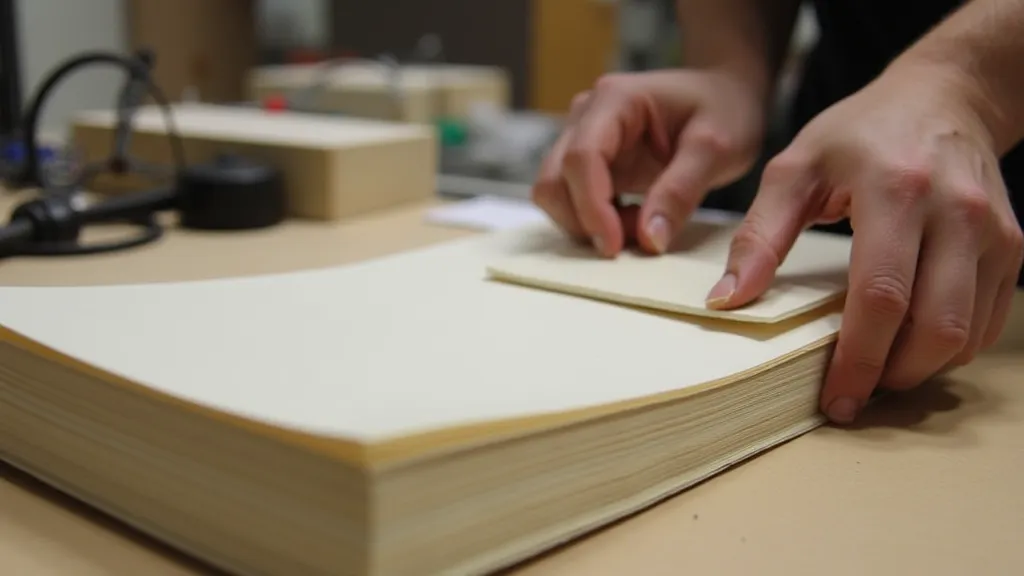
Step 3: Preparing the Paper Signature
A signature is a group of pages folded in half. The number of pages per signature will influence the number of sewing holes you need. For a beginner, 4-8 pages per signature is a good starting point. Fold your pages neatly in half using your bone folder to create a sharp crease. Ensure the edges are aligned as accurately as possible. Repeat this process to create multiple signatures.
Step 4: The Long Stitch Sewing Process
This is where the magic happens! Place the first signature between the two pieces of bookboard, aligning the edges carefully. Begin by bringing the needle up through the center hole of the bookboard, leaving a tail of thread (approximately 6-8 inches). Next, take the needle to the first hole on either side of the center hole, sewing through the signature and then back through the hole. Continue this process, working outwards to each hole, then back towards the center. Repeat the same stitching pattern on the other side. Maintain consistent tension on the thread to ensure a tight and even stitch. When finished, tie the thread securely, being mindful of how the knot looks on the spine.
Step 5: Adding Subsequent Signatures
Repeat the sewing process for each subsequent signature. Overlap the thread slightly with each signature to secure it firmly. Ensure the spine remains aligned throughout the process.
Step 5: Finishing Touches
Once all signatures are sewn together, trim the edges of the pages to create a clean, even edge. This is best done with a guillotine cutter, but a craft knife and ruler can be used with caution. Finally, consider covering the book with decorative paper, fabric, or leather to create a truly unique and beautiful handmade book. Consider burnishing the spine for a professional look.

With practice, the Long Stitch binding will become a satisfying and rewarding technique. Enjoy the process and the beautiful handmade books you create!