Simple Pamphlet Stitch Binding: A Quick & Easy Handmade Book Project
Looking for a fast and satisfying bookbinding project? This tutorial covers the pamphlet stitch, a simple yet elegant binding method perfect for creating small booklets, zines, or greeting cards. We'll walk you through gathering signatures, folding, and sewing – it's a fantastic introduction to handmade bookbinding! No complicated tools needed.
What You'll Need
- Paper (your choice of size and weight)
- Long-reach needle
- Strong thread (linen or waxed thread works well)
- Bone folder (optional, but helpful)
- Scissors
- Ruler
Understanding the Pamphlet Stitch
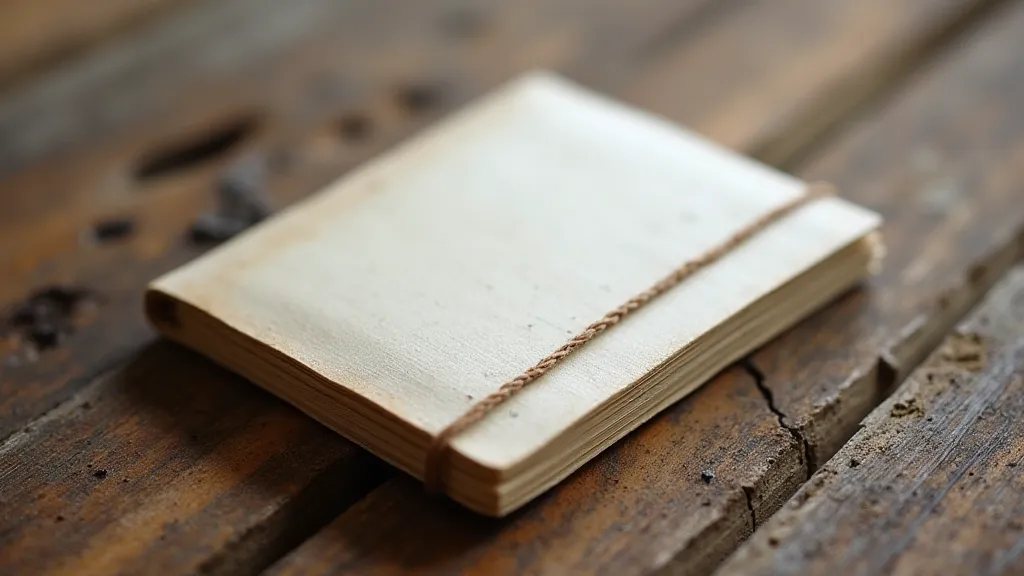
The pamphlet stitch is one of the oldest and simplest bookbinding methods. It's essentially a single fold that gathers multiple sheets of paper together. It’s ideal for small projects because it requires minimal materials and time. You're essentially creating a booklet by folding sheets together and sewing them along the spine.
Step-by-Step Tutorial
1. Preparing Your Signatures
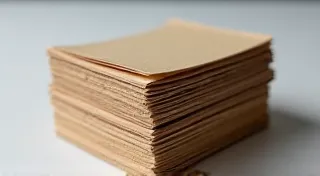
A "signature" in bookbinding refers to a group of folded sheets that become a single unit within the book. For this project, you can start with a few sheets (4-8 is a good starting point) depending on the thickness you desire for your booklet.
2. Folding Your Signatures
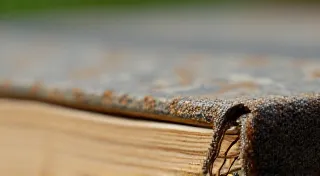
Carefully align the edges of your sheets and fold them in half, creating a neat crease. A bone folder can help ensure a sharp, even fold. The crease will be your spine.
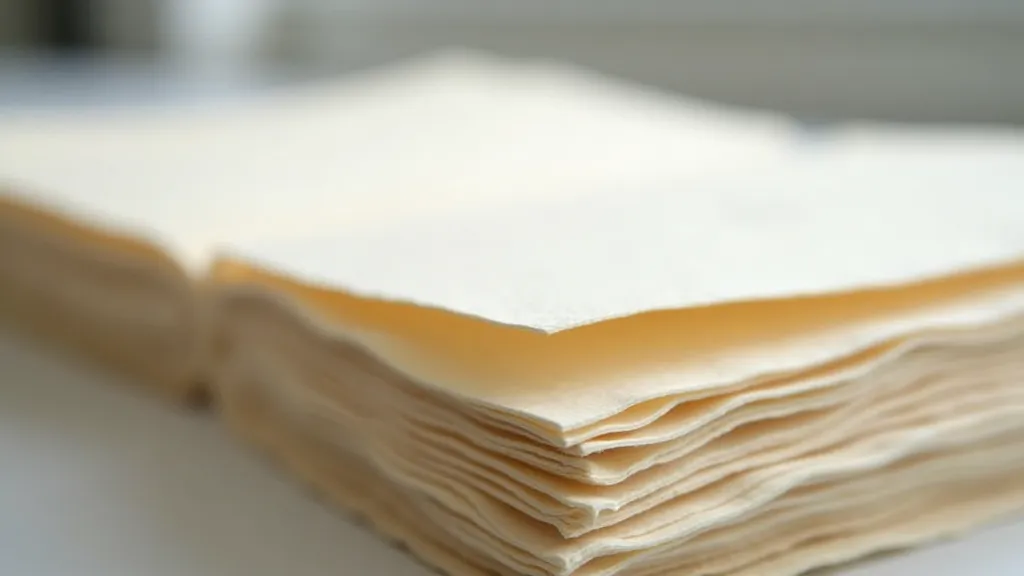
3. Gathering Your Book Block
Stack your folded signatures together, aligning the spines. Make sure the fold lines are facing inwards.
4. Sewing the Pamphlet Stitch
This is the core of the process. Here’s how to execute the stitch:
- Pierce two holes down the spine of your gathered signatures. These holes should be evenly spaced – typically about 1/2 inch to 3/4 inch apart. You can mark the locations with a pencil first.
- Thread your needle with a length of thread roughly four times the height of your book block.
- Starting from the outside of the spine, push the needle through the first hole.
- Bring the needle across the spine and push it through the second hole.
- Bring the needle back to the first hole and repeat the process, working your way around the spine until all signatures are securely stitched together.
- Tie a secure knot at the end, ensuring the stitch is tight and the signatures are firmly joined.

5. Finishing Your Booklet
Trim any uneven edges with a sharp pair of scissors to give your booklet a clean and professional look. You can also add a cover using heavier paper or cardstock.
Tips & Troubleshooting
- Thread Choice: Waxed linen thread is very strong and durable, but any strong thread will do.
- Needle Size: A long-reach needle is essential for reaching across the spine.
- Fold Precision: Accurate folds are key to a neat and well-bound booklet.
- Tension: Keep the thread tension consistent throughout the stitching process.
Beyond the Basics
Once you’re comfortable with the basic pamphlet stitch, you can experiment with different paper types, thread colors, and decorative stitching techniques. This simple binding is a wonderful foundation for building more complex bookbinding skills!