Japanese Binding (Dosu): An Elegant Bookmaking Method
Japanese binding, particularly the Dosu method, offers a truly beautiful and distinctive way to create handmade books. Unlike Western bookbinding which often involves a spine, Japanese binding utilizes a unique stitching pattern that allows the book to open flat, showcasing the entirety of each page. This style emphasizes the visual elegance of the paper and thread, resulting in a stunning finished product. This guide will walk you through the Dosu binding method, breaking down the steps and providing clear instructions to help you create your own exquisite handmade books.
What is Dosu Binding?
The term "Dosu" refers to a particular type of Japanese binding known for its distinctive 'sawtooth' or 'notched' pattern along the spine. It is a relatively simple form of Japanese binding when compared to other methods, making it ideal for beginners interested in exploring this beautiful art form. The visual appeal lies in the way the stitching creates a subtle texture and enhances the book's aesthetic.

Materials You'll Need
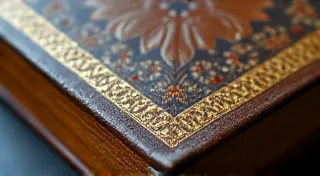
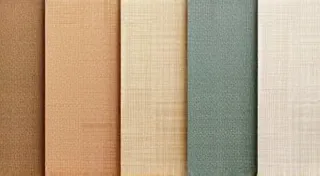
- Paper: Choose a paper stock that complements the aesthetic you're aiming for. Japanese paper (Washi) is traditional, but any strong, flexible paper will work. Consider paper weight - slightly thicker paper is often easier to work with.
- Thread: Strong, waxed linen thread is commonly used. The wax helps to prevent tangling and creates a neat, clean stitch.
- Needle: A long, blunt-tipped needle is ideal for reaching through the folded paper.
- Bone Folder: Essential for crisp, clean folds.
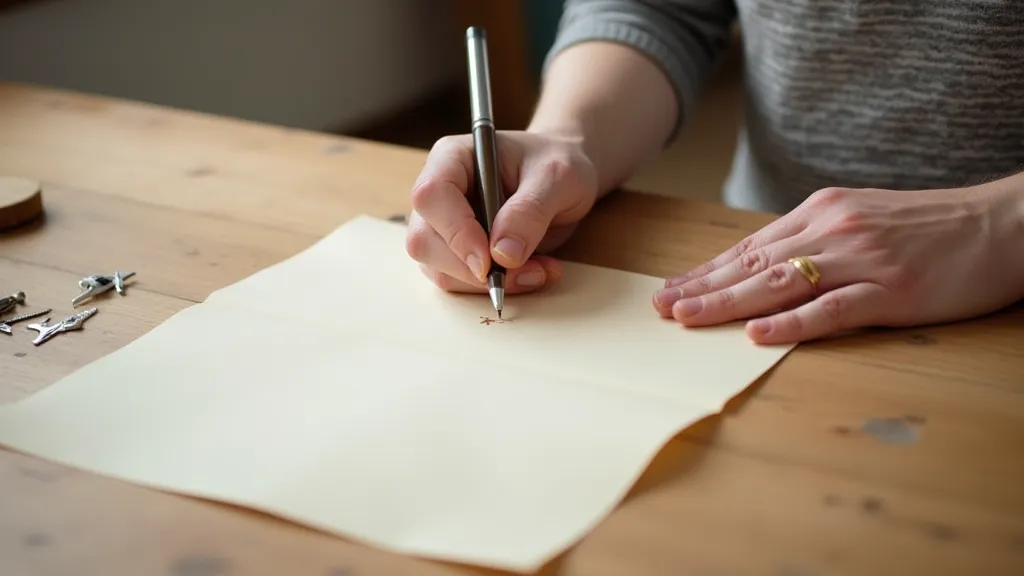
- Awl: For creating the holes for stitching.
- Ruler: For accurate measurements.
- Cutting Mat: To protect your work surface.
- Craft Knife or Scissors: For trimming paper.
Step-by-Step Instructions
- Prepare Your Paper Signatures: Decide how many pages you want in each signature (group of folded pages). Four or five pages per signature is a good starting point. Fold each signature neatly in half using your bone folder to create a sharp crease.
- Determine Hole Placement: Japanese binding typically uses four or five holes for each signature. Mark these holes evenly spaced along the spine fold using a ruler and pencil. Consistency in hole placement is crucial for a professional-looking bind.
- Punch the Holes: Carefully use your awl to create holes at the marked locations on each signature. Ensure the holes are clean and straight.
- Sew the Signatures: This is the core of the Dosu binding. Starting with the innermost signature, thread your needle with a length of waxed linen thread. Begin by stitching through the center hole of the first signature. Then, alternate between the left and right holes, following a consistent pattern. Continue stitching through each signature, ensuring the thread is pulled taut but not overly tight. The key is to maintain a smooth and even stitching pattern.
- Finishing the Binding: Once all signatures are stitched together, tie off the thread securely, creating a neat knot. Trim any excess thread.
- Press the Book: Place the newly bound book under a heavy weight for several hours or overnight. This will help to flatten the pages and set the binding.
Tips for Success
- Practice Makes Perfect: Japanese binding, like any craft, takes practice. Don’t be discouraged if your first attempt isn't perfect.
- Use Quality Materials: The quality of your paper and thread will significantly impact the final product.
- Keep Your Thread Waxed: Waxed thread is easier to work with and creates a more professional finish.
- Be Patient: Take your time and focus on accuracy. Rushing the process can lead to mistakes.

Conclusion
Dosu binding is a rewarding and beautiful bookmaking technique. With a little patience and practice, you can create stunning handmade books that showcase your creativity and skill. Experiment with different papers, threads, and signature sizes to personalize your creations and explore the endless possibilities of this elegant Japanese binding method.