Creating a Flag Book: A Fun and Interactive Bookbinding Project
The Flag Book, also known as a Japanese Flag Book or Harmony Book, is a delightful and surprisingly simple bookbinding project. It's a fantastic way to practice basic bookbinding techniques and creates a unique and interactive reading experience. Ideal for showcasing artwork, poetry, short stories, or even photo collages, the Flag Book’s distinctive folding design adds a playful element to your handmade books.
This tutorial will guide you through the process, step-by-step, allowing even beginners to create a beautiful and functional Flag Book.
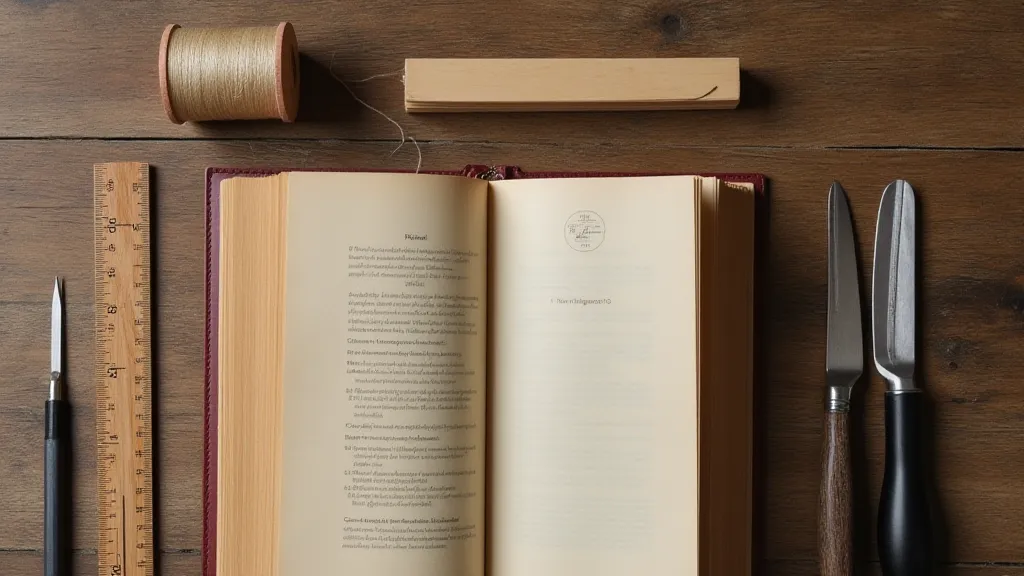
What You'll Need
- Sheet of Paper (size depends on desired book dimensions; larger sheets yield larger books)
- Bone Folder or similar tool for crisp folds
- Awl or needle
- Thread (strong cotton or linen thread is recommended)
- Needle
- Scissors
- Ruler
- Pencil
Step 1: Preparing Your Paper
The key to a good Flag Book lies in accurate folding. Precise folds create the signature ‘flag’ effect. Begin by measuring and marking your paper. The size of your paper dictates the size of your book. A standard US Letter size (8.5 x 11 inches) can create a good-sized Flag Book, but experimenting with larger formats is encouraged.
Here's a general guideline, but feel free to adjust based on your chosen paper size:
- Fold the paper in half lengthwise. Crease firmly with your bone folder.
- Open the paper.
- Fold one side to the center crease. Crease firmly.
- Fold the other side to the center crease, overlapping the first fold. Crease firmly. You now have two folds dividing the paper into three sections.
- Unfold the second fold. You should have a visible center crease and two visible folds on either side.
- Now, fold each of the outer sections towards the center crease, essentially folding the paper in half again, but only on the outer sections. The center section remains unfolded.
You should now have a paper structure with eight panels: four folded panels and four unfolded panels.
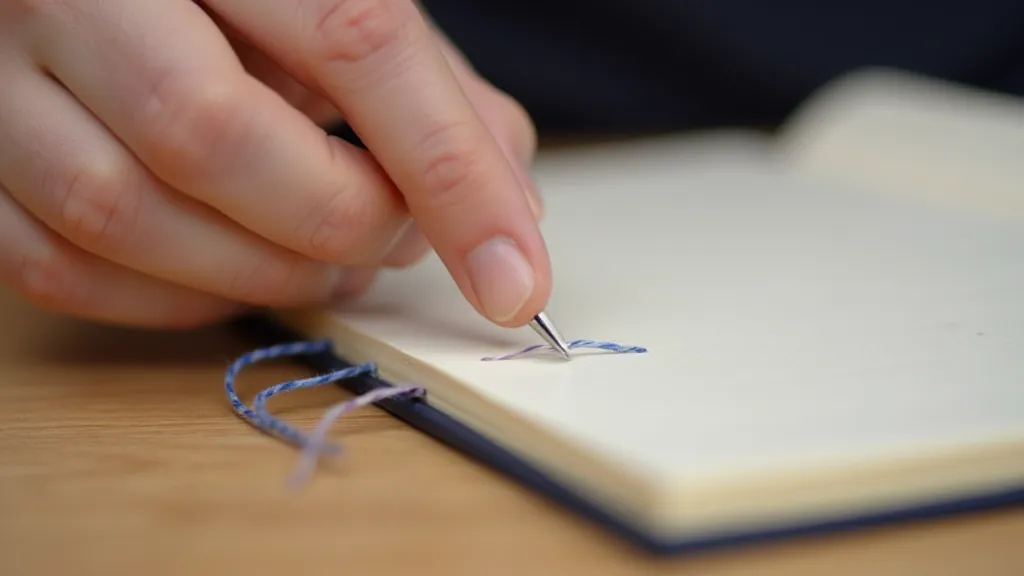
Step 2: Sewing the Flag Book
The sewing process secures the folded panels together, creating the book’s spine. This is a simple pamphlet stitch.
- Using your awl or needle, create four holes down the center spine of the folded panels. These holes should be evenly spaced.
- Thread your needle with a length of thread approximately three times the length of the spine.
- Begin your stitch from the outside of the spine, going in through the first hole and out the second.
- Continue stitching through each pair of holes, following the pattern: in through the first, out the second, in the third, out the fourth, and so on.
- Once you’re finished, secure the thread with a knot.
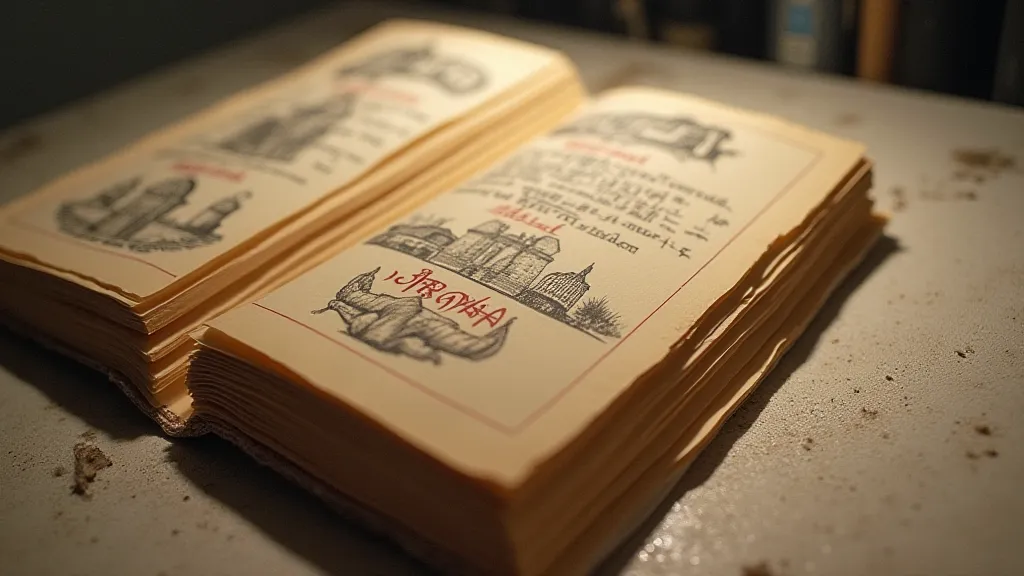
Step 3: Finishing Touches
Now that your Flag Book is sewn, it’s time to add those finishing touches. Trim any uneven edges, if necessary, to create a neat and professional look.
Consider decorating your Flag Book with embellishments like stamps, paint, or hand-lettering. The folding nature of the book adds a unique visual appeal.
Tips and Variations
- Experiment with different paper types and sizes to create unique Flag Books.
- Use patterned paper or fabric to add visual interest.
- Add pockets or envelopes within the pages for added functionality.
- Try using different stitching patterns for a more decorative spine.
The Flag Book is a wonderful introduction to the world of bookbinding. Its simplicity and interactive design make it a rewarding project for crafters of all skill levels. Happy binding!