Exploring the Kerr Stitch Binding: A Unique Bookmaking Style
The world of bookbinding is rich with a variety of techniques, each offering a distinct aesthetic and structural approach. Today, we's going to explore a fascinating and relatively uncommon method: the Kerr Stitch Binding. Unlike more traditional bindings, the Kerr Stitch emphasizes the stitching itself, creating a visually striking and tactile book. It's a beautiful way to showcase your craft and create a truly unique handmade book.
What is the Kerr Stitch Binding?
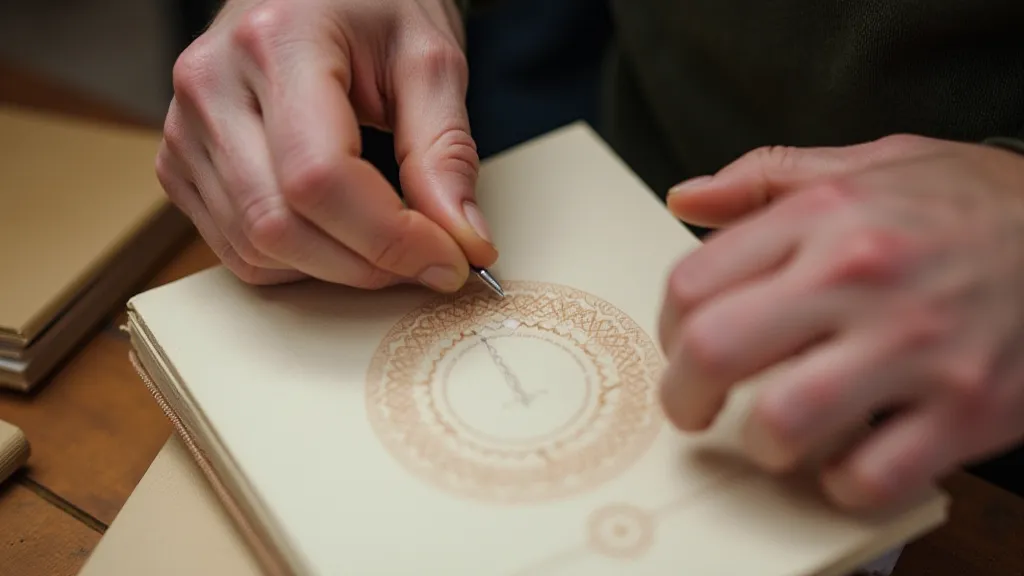
The Kerr Stitch binding, named after its inventor, Robert Kerr, is a variation on the traditional link stitch. What sets it apart is the unusual pattern created by the stitches, which visually resembles a diamond or a series of interlocking "kerrs" – hence the name. While it requires a bit more precision than simpler bindings, the result is a book that's both beautiful and surprisingly durable. It’s a great project for bookbinders who want to add a touch of originality to their creations.
Materials You'll Need
- Book Board/Cover Stock: Sturdy material for the covers of your book.
- Text Block Paper: Choose a paper suitable for writing or printing.
- Bookbinding Thread: Strong, waxed thread is ideal. Linen or cotton thread works well.
- Needle: A large-eyed bookbinding needle.
- Awl: For creating holes in the book board and paper.
- Bone Folder: For creasing and smoothing paper.
- Ruler: For accurate measurements.
- Cutting Mat and Knife/Scissors: For precise paper trimming.
Step-by-Step Guide to Kerr Stitch Binding
- Prepare the Book Board: Cut the book board to the desired size for your front and back covers. Consider adding endpapers if desired.
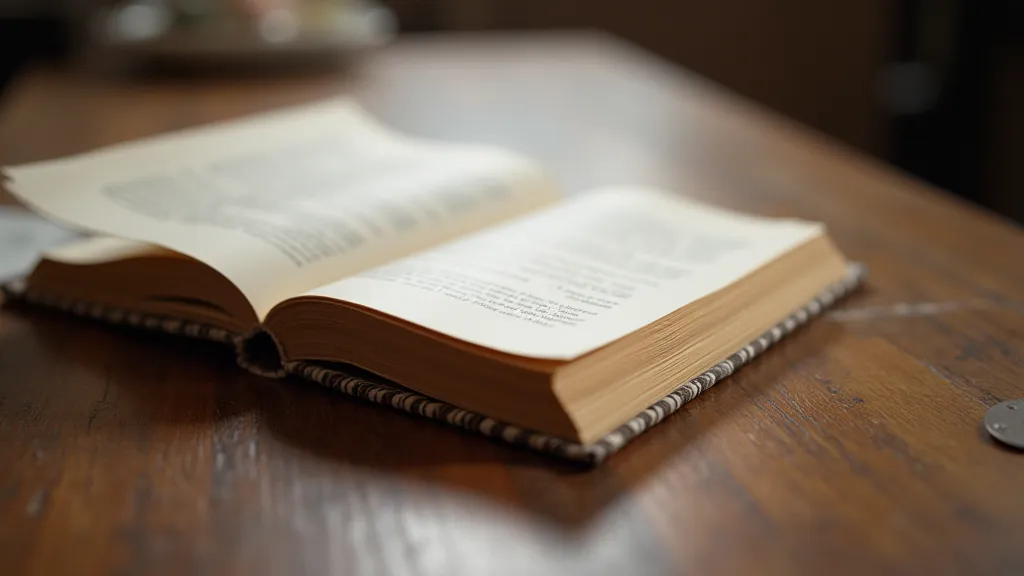
- Prepare the Text Block: Fold the text block paper in half to create the signatures. The number of signatures will determine the thickness of your book.
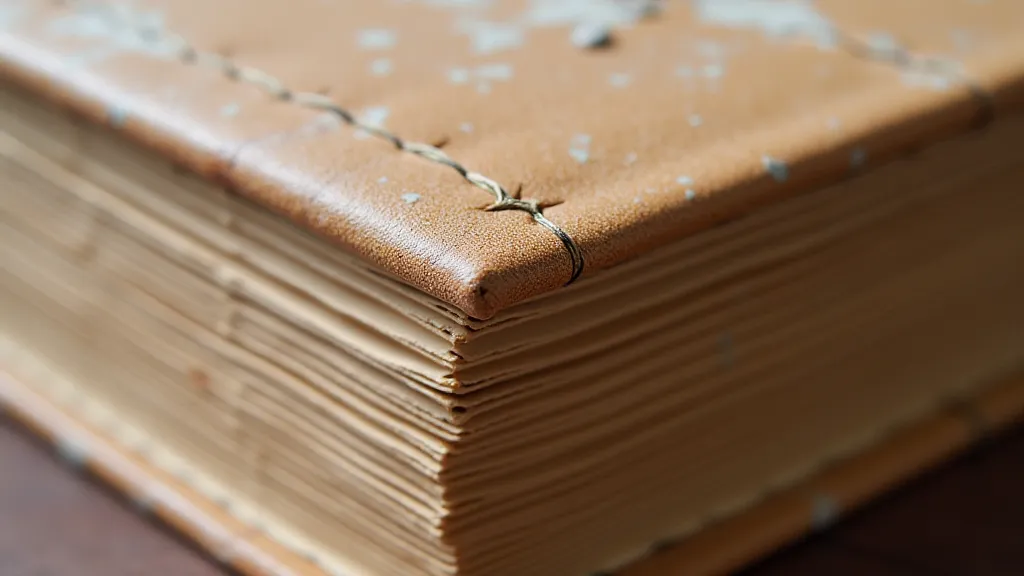
- Marking and Piercing the Signatures: This is a crucial step. Carefully mark the locations for the stitching holes along the spine of each signature. The Kerr Stitch requires a specific pattern— typically 4-5 holes. Use an awl to pierce the holes cleanly and accurately. Ensure the holes are aligned across all signatures.
- Sewing the Kerr Stitch: Begin the sewing process. Thread your needle with a length of waxed thread. Following the Kerr Stitch pattern (which you can find diagrams of online - search for "Kerr Stitch Diagram"), begin stitching the signatures together. This requires careful attention to the stitch order to achieve the characteristic diamond shape.
- Attaching the Book Board: Once all the signatures are securely sewn, attach them to the book board. This often involves using endpapers to bridge the gap between the text block and the covers.
- Finishing Touches: Clean up any excess thread, trim the edges of the text block (optional), and add any decorative elements you desire.
Tips for Success
- Practice Makes Perfect: The Kerr Stitch can be tricky to master. Don’t be discouraged if your first attempt isn't perfect.
- Use a Kerr Stitch Diagram: A visual guide is essential for understanding the stitch pattern. Numerous diagrams are available online.
- Accurate Hole Placement: Precise hole placement is paramount. Use a template or carefully measure to ensure alignment.
- Waxed Thread is Key: Waxed thread prevents tangling and provides a more secure stitch.
Why Choose Kerr Stitch Binding?
The Kerr Stitch Binding is more than just a method of joining pages together; it’s a statement. It provides a unique aesthetic appeal that showcases your bookbinding skills and provides a tactile experience. The visual impact of the exposed stitching adds a touch of artistry and individuality to your handmade books. It's a rewarding project for any bookbinder looking to expand their repertoire and create truly special objects.
Resources
Numerous online resources, including videos and diagrams, can help you learn the Kerr Stitch Binding. A quick internet search will yield a wealth of information to guide you on your bookbinding journey.