Embossing Techniques for Bookbinding: Adding Dimension & Style
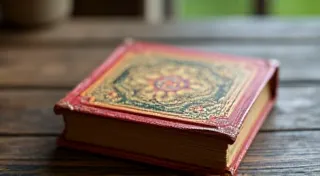
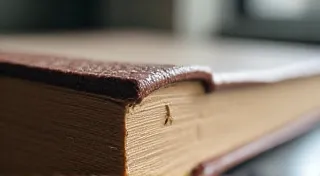
Adding texture and visual interest to your handmade books is a fantastic way to elevate their artistry. Embossing, a time-honored technique, allows you to create raised designs on your book covers and even pages, adding a professional and luxurious feel. This tutorial is designed for beginners with little to no experience, guiding you through the basic principles and methods of embossing for bookbinding. Let's dive in!
Understanding Embossing
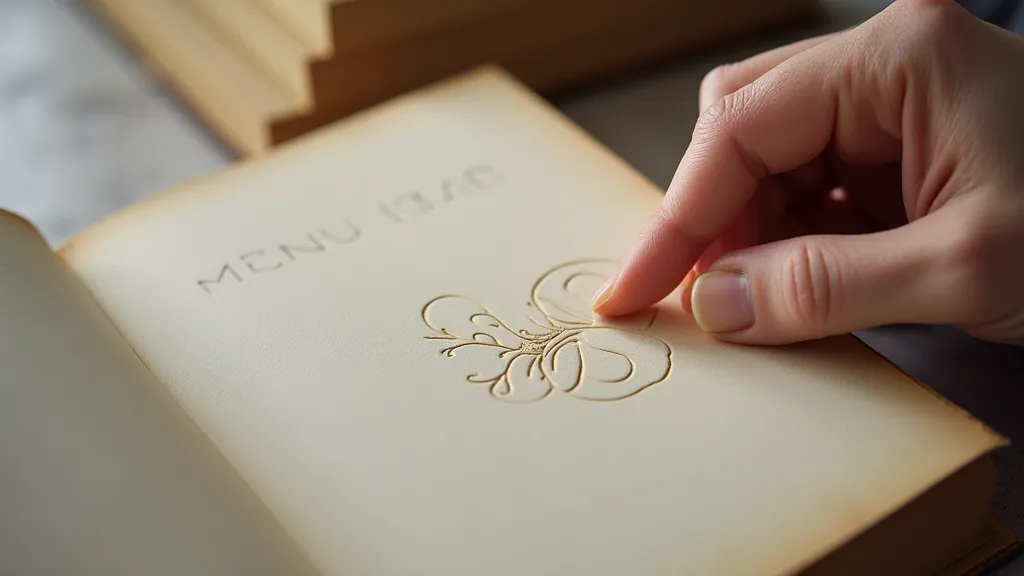
Embossing essentially involves creating a raised pattern on a surface using pressure. Think of it like stamping a design, but instead of ink, you’re using the pressure to push the material upwards. There are two main types of embossing we’ll focus on: dry embossing and hot foil embossing.
Dry Embossing: The Simple Start
Dry embossing is the easiest technique to begin with. It requires no heat or specialized tools, making it very accessible. Here’s what you’ll need:
- A sturdy surface (like a thick piece of cardboard or a self-healing cutting mat)
- A blunt embossing tool (a bone folder, a rounded ball tool, or even a rounded teaspoon can work)
- Your chosen material (book cover paper, decorative cardstock, or even handmade paper)
- A template or pattern (optional - can be hand-drawn or pre-made)
Step-by-Step Guide to Dry Embossing:
- Prepare Your Material: Ensure your paper is firmly adhered to the sturdy surface. This is crucial for a clean impression.
- Position Your Tool: Place your embossing tool on the area you want to emboss.
- Apply Pressure: Gently push the tool inwards, using consistent pressure. Don’t rush!
- Trace the Pattern (if using): If you're tracing a pattern, slowly move the tool along the lines, maintaining even pressure.
- Repeat & Experiment: Practice on scrap paper to get a feel for the pressure needed. Experiment with different tools and patterns!
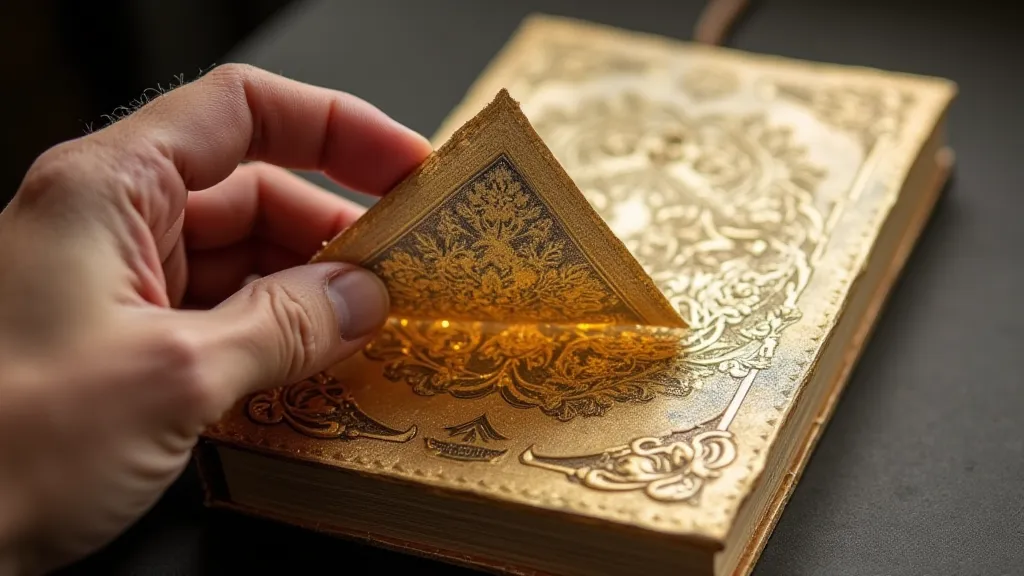
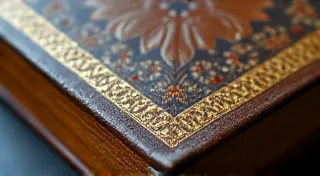
Hot Foil Embossing: A More Advanced Technique
Hot foil embossing provides a more dramatic and luxurious result. It involves using heat to transfer a metallic foil onto the surface, creating a shiny, raised design. This technique requires more specialized equipment – a heat press or a dedicated hot foil embosser.
Essential Materials for Hot Foil Embossing:
- A heat press or hot foil embosser
- Heat-resistant foil (gold, silver, copper are popular choices)
- A heat-resistant die (a custom-made plate with your desired design)
- Your chosen material (book cover paper, decorative cardstock)
- Heat-resistant felt pad
A Brief Overview of the Process:
- Prepare Your Materials: Position the paper, felt pad and die in the machine.
- Apply Heat & Pressure: The machine will apply heat and pressure to transfer the foil to the paper.
- Carefully Remove Foil: Let the foil cool for a few seconds, then gently peel away the backing.
Note: Hot foil embossing can be tricky. It's best to start with simple designs and follow the manufacturer's instructions for your specific equipment.
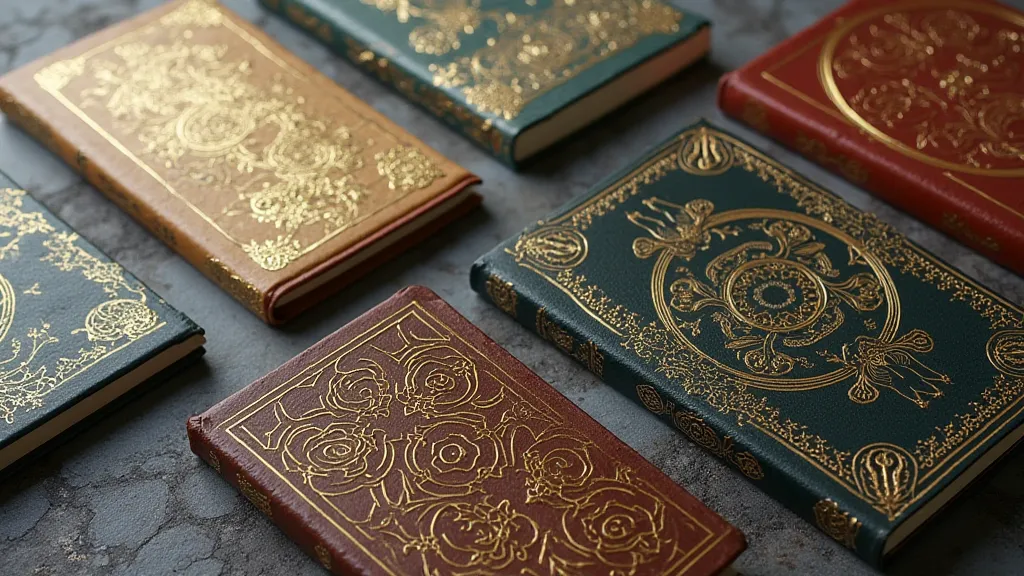
Tips and Considerations
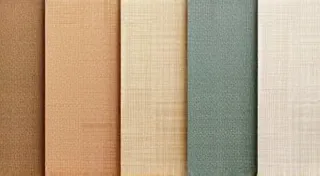
- Paper Choice Matters: Thicker, more durable papers work best for embossing.
- Test First: Always test your embossing techniques on scrap paper before applying them to your finished book.
- Experiment with Layers: Layer different paper textures and colors for added visual interest.
- Combine Techniques: Try combining embossing with other bookbinding techniques, such as marbling or calligraphy.
Conclusion
Embossing is a rewarding technique that can significantly enhance the beauty and uniqueness of your handmade books. Whether you choose the simplicity of dry embossing or the elegance of hot foil embossing, the possibilities are endless. With a little practice and experimentation, you'll be creating stunning embossed designs in no time! Embrace the process, have fun, and let your creativity shine through!