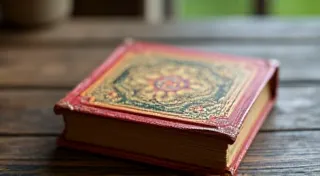
Bookcloth Binding: Adding Texture and Elegance
Description: Learn the art of bookcloth binding, which elevates handmade books with luxurious fabric covers. This tutorial covers fabric selection, adhering the cloth, and creating a finished product.
Keywords: bookbinding, handmade books, bookcloth binding, binding techniques, crafts, bookmaking
Introduction to Bookcloth Binding
Bookcloth binding is a beautiful and relatively accessible technique for creating truly special handmade books. It involves covering your book with fabric, rather than traditional paper, adding a layer of texture, durability, and undeniable elegance. While it might seem daunting at first, this tutorial breaks down the process into manageable steps, perfect for bookbinders of all skill levels.
Materials You’ll Need
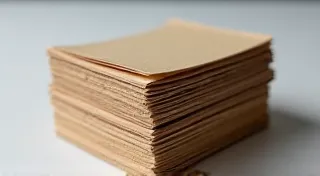
- Your prepared book block (signatures sewn together)
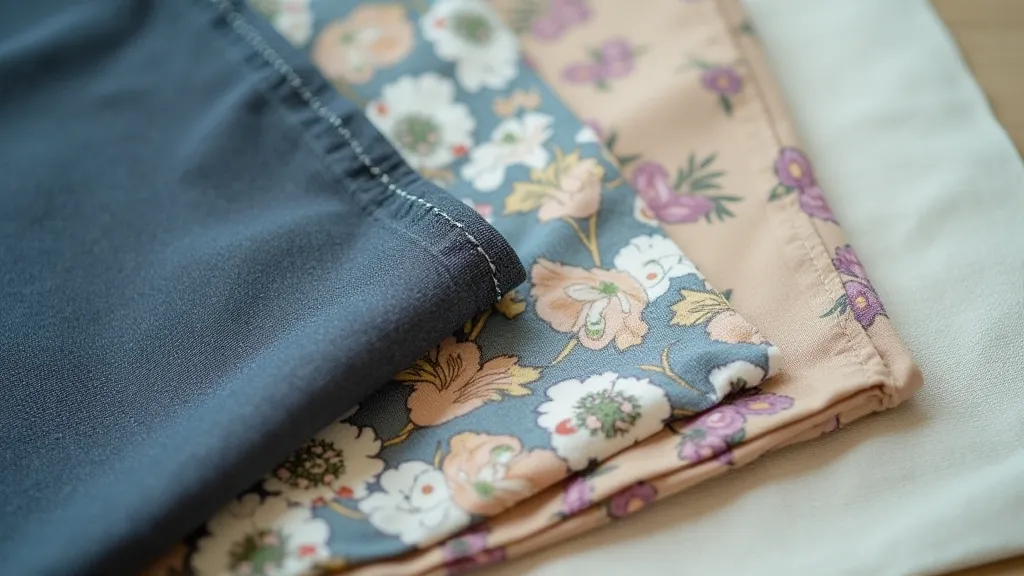
- Bookcloth Fabric (cotton, linen, or a blend work well. Consider weight and drape. Heavier fabrics offer more stability.)
- Bookbinding Paste (PVA glue, diluted)
- Mull or Cheesecloth (for reinforcement)
- Brush
- Bone Folder
- Cutting Mat
- Craft Knife or Scalpel
- Ruler
- Weights (bricks, heavy books)
Step 1: Preparing the Fabric
Measure your book block carefully. You'll need to add extra fabric around all edges – typically 2-3 inches is a good starting point. This allowance provides space for wrapping the edges and creating a clean finish.
Cut the fabric to the determined size. Accuracy here is important for a professional look.
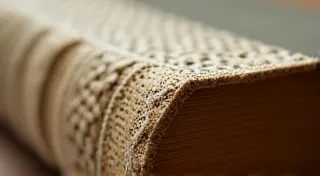
Step 2: Applying the Mull (Optional but Recommended)
Applying a layer of mull, or cheesecloth, to the book block provides extra strength and prevents the fabric from warping or cracking over time. A thin layer of diluted bookbinding paste is brushed onto the book block’s spine and covers. The mull is then laid flat over the spine and covers, gently pressed into place with a bone folder to remove any air bubbles. Let this dry completely.
Step 3: Adhering the Bookcloth
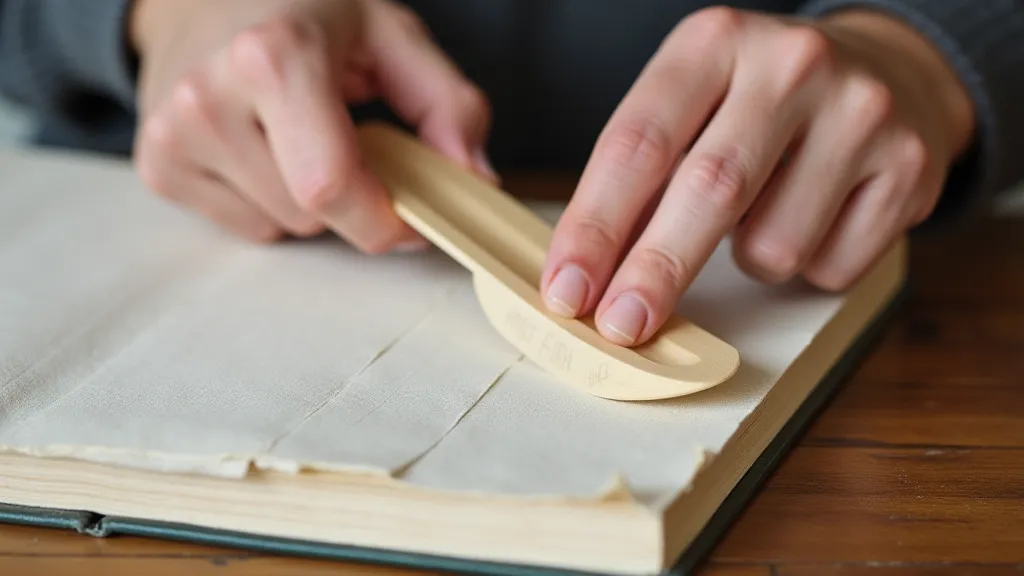
This is where patience is key! Work in small sections. Apply a thin, even layer of bookbinding paste to a portion of the book cover (usually starting with the spine). Carefully align the fabric, ensuring it’s straight and covers the glued area completely. Use a bone folder to smooth the fabric onto the cover, pressing firmly to eliminate any air bubbles and excess glue.
Continue this process, section by section, working your way around the entire book. Don't rush! Smooth any remaining bubbles with the bone folder.
Step 4: Turning the Edges (Headcaps and Tailcaps)
The turned-in edges, often referred to as headcaps and tailcaps, add a refined touch to your bookcloth binding. Fold the excess fabric inward, carefully creasing with your bone folder. Apply a thin layer of glue to the inner fold and press firmly. Repeat on the other edges.
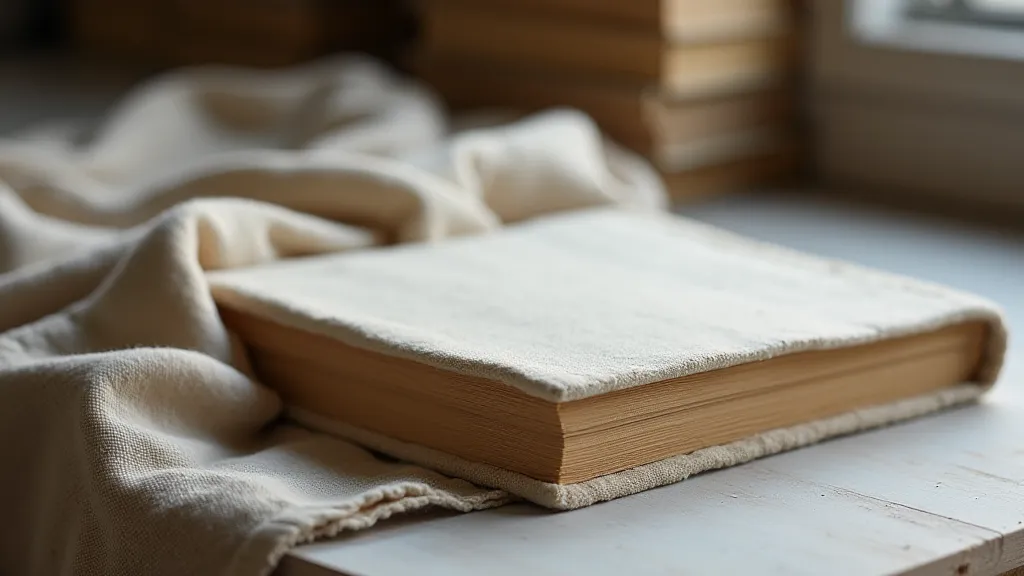
Step 5: Finishing and Drying
Once the entire book is covered and the edges are turned, place the book under a stack of weights. This will ensure a tight bond and prevent warping. Allow the book to dry completely – typically 24-48 hours. The drying time may vary depending on the humidity and the thickness of the glue.
Conclusion
Bookcloth binding adds a touch of luxury and durability to your handmade books. While it requires a little more time and attention than traditional paper binding, the results are well worth the effort. With practice, you’ll be creating beautiful, heirloom-quality books in no time!