Making a Concertina Book: Simple Accordion Binding
Learn to create a beautiful and functional Concertina book, also known as an accordion book! This simple binding technique is incredibly versatile and makes for a delightful project, perfect for travel journals, scrapbooks, or showcasing a series of images. It's also a fantastic entry point into the world of bookbinding. This tutorial will guide you step-by-step through the process.
What You’ll Need
- Paper: Choose a paper weight appropriate for your project. Lighter weights (like 65-80gsm) are easier to fold for a thin book; heavier paper (100gsm+) feels more substantial. The amount of paper you need depends on how many pages you want.
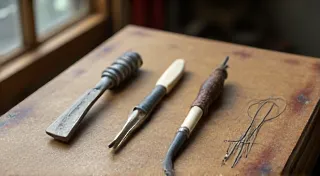
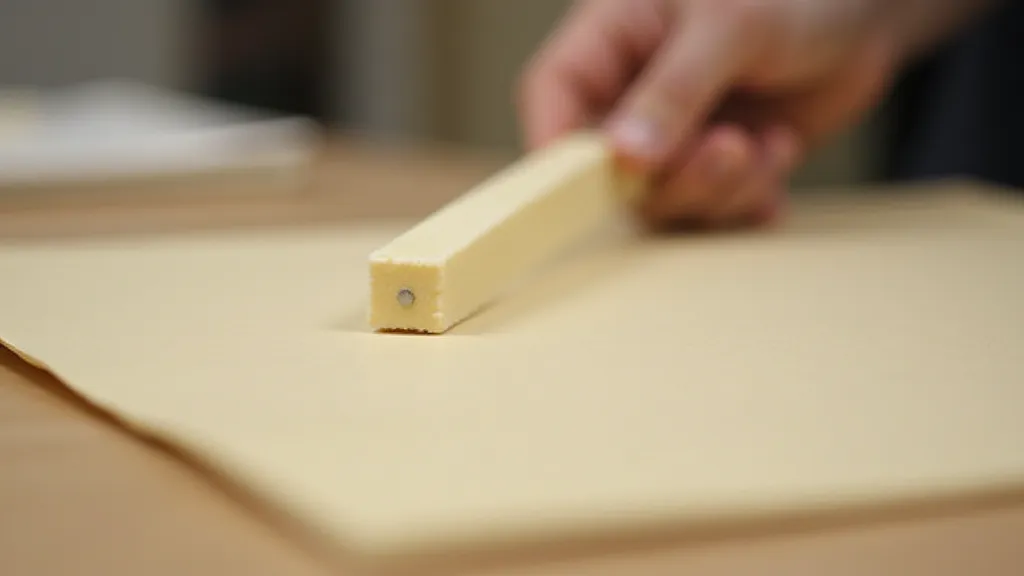
- Bone Folder: Essential for creating crisp, clean folds.
- Scissors or Craft Knife: For trimming the paper.
- Ruler: For accurate measurements.
- Needle and Thread (optional): For sewing the spine – adds a more finished look.
- Glue Stick (optional): For securing the ends of the concertina.
Step 1: Preparing Your Paper
Decide on the size of your final book. The width of the folded panels will determine this. A common size is around 2.5-3 inches wide per panel. You'll need a large sheet of paper. The length of the paper should be a multiple of your desired panel width. For example, if you want 8 panels, your paper length should be at least 20-24 inches (depending on your panel width and desired margin).
Step 2: Folding the Accordion
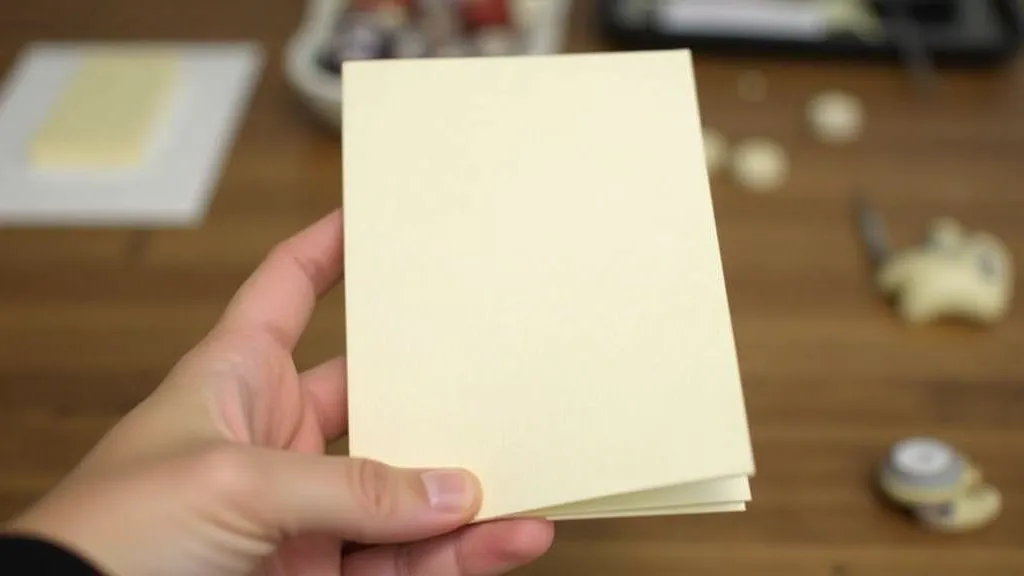
This is the heart of the Concertina binding! Lay your paper flat. Using your bone folder and ruler, make your first fold. Ensure the fold is straight and crisp. Flip the paper over and fold again, to the same width. Continue flipping and folding, ensuring each fold is even and parallel to the last. Precision here is key to a tidy finished product.
Take your time with this process. The more accurate your folds, the better your book will look and function. A mountain fold is when the fold is facing you, and a valley fold is when the fold is away from you. Alternate between mountain and valley folds for a classic accordion effect.
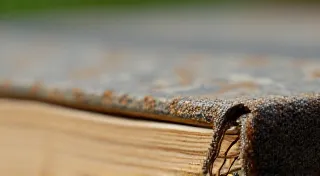
Step 3: Refining the Edges (Optional)
Once your paper is folded, you can trim the edges for a more polished look. You can leave the edges raw for a rustic feel or trim them straight and even. A craft knife and ruler are perfect for this, but be careful!
Step 4: Binding (Simple End Securing)
There are a few ways to secure the ends of your Concertina book. The simplest is to use a glue stick. Apply a small amount of glue to the first and last panels and press them together to create a closed book.

Step 5: Advanced Binding (Sewing - Optional)
For a more durable and professional-looking book, you can sew the spine. This involves punching holes along the spine and stitching the pages together. This is a slightly more complex process, but well worth the effort for a longer-lasting book.
Step 2: Finishing Touches (Optional)
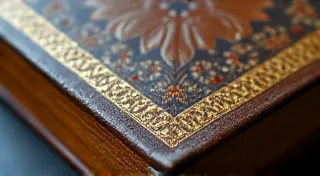
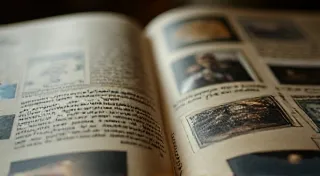
Now it's time to personalize your book! You can decorate the covers, add illustrations, write stories, or paste in photographs. The possibilities are endless!
Conclusion
Congratulations! You've successfully created a Concertina book. This simple binding technique is a great introduction to the world of bookbinding, and provides a satisfying result. Now you can create unique and personalized books for all your projects!