Creating a Memory Book: A Personalized Bookbinding Project
This tutorial guides you through the process of crafting a beautiful and personalized memory book using your favorite bookbinding techniques. A memory book isn’t just a collection of photographs; it’s a tactile, tangible representation of cherished moments, meticulously bound and preserved by hand. Whether you're documenting a wedding, a family vacation, a child’s growth, or simply a collection of beloved memories, this project offers a wonderful opportunity to combine creativity and craftsmanship.
Planning Your Memory Book
Before you even pick up your needles and thread, careful planning is crucial. Consider the scope of your project: How many photos do you have? What is the overall narrative you want to tell? The answers to these questions will influence the size and format of your book.
- Size: A5 (14.8 x 21 cm) is a popular choice for memory books, offering ample space for photos and journaling. Smaller sizes (e.g., A6) can be charming for a more intimate collection.
- Page Count: Estimate the number of photos you want to include and divide them evenly across the pages. Remember to factor in space for journaling and embellishments.
- Binding Style: Several bookbinding techniques are suitable for memory books. Coptic binding offers a unique, exposed spine and allows the book to lie flat, making it ideal for displaying photos. Japanese stab binding is another beautiful option. A simple saddle stitch binding is easiest for beginners.
- Paper Choice: Use acid-free paper to ensure the longevity of your photos and memories. Consider different textures and weights to add visual interest.
Materials You’ll Need
- Acid-free paper (for pages and covers)
- Bookbinding thread (linen or cotton)
- Bookbinding needles
- Awl
- Bone folder
- Cutting mat
- Ruler
- Craft knife or scissors
- Glue (PVA or bookbinding glue)
- Photos
- Decorative elements (optional): patterned paper, ribbons, stamps, stickers
Step-by-Step Instructions (Coptic Binding Example)
This example focuses on Coptic binding, known for its elegant exposed spine. Instructions for other binding techniques can be found with a quick online search.
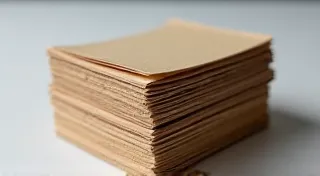
- Prepare the Signatures: A signature is a small booklet of folded pages. Decide on your signature size (e.g., 4 pages per signature) and fold the paper neatly.
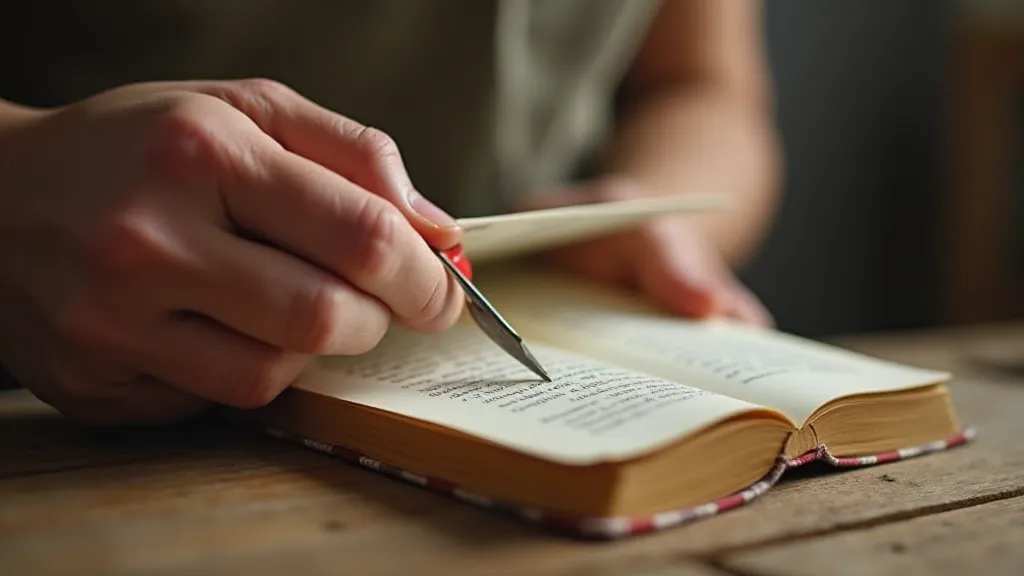
- Mark Sewing Stations: Using a ruler and pencil, mark the sewing stations along the spine of each signature. Typically, 3-5 sewing stations are used.
- Sew the Signatures Together: Starting with the first signature, begin sewing through the marked stations. Use the Coptic stitch, bringing the thread over and under each signature to create a secure bond.
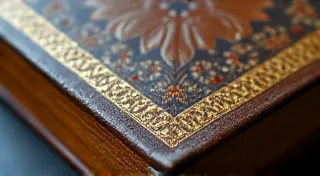
- Create the Cover: Cut two pieces of sturdy cardstock for the front and back covers. Decorate them as desired.
- Attach the Cover: Sew the front and back covers to the sewn signatures, ensuring a clean and secure attachment.
- Finishing Touches: Use a bone folder to smooth the spine and covers. Add any final embellishments, such as ribbons or decorative paper.
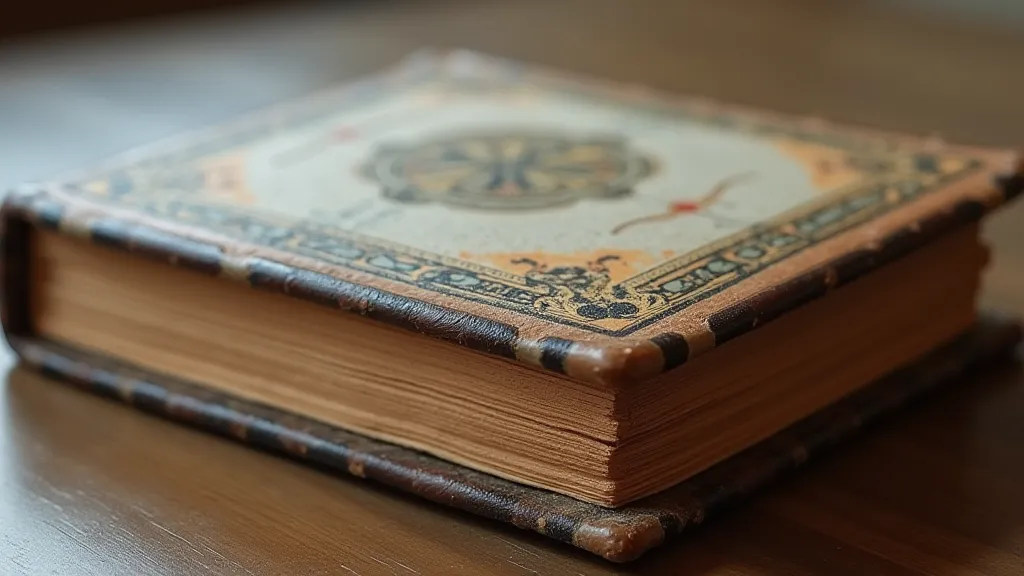
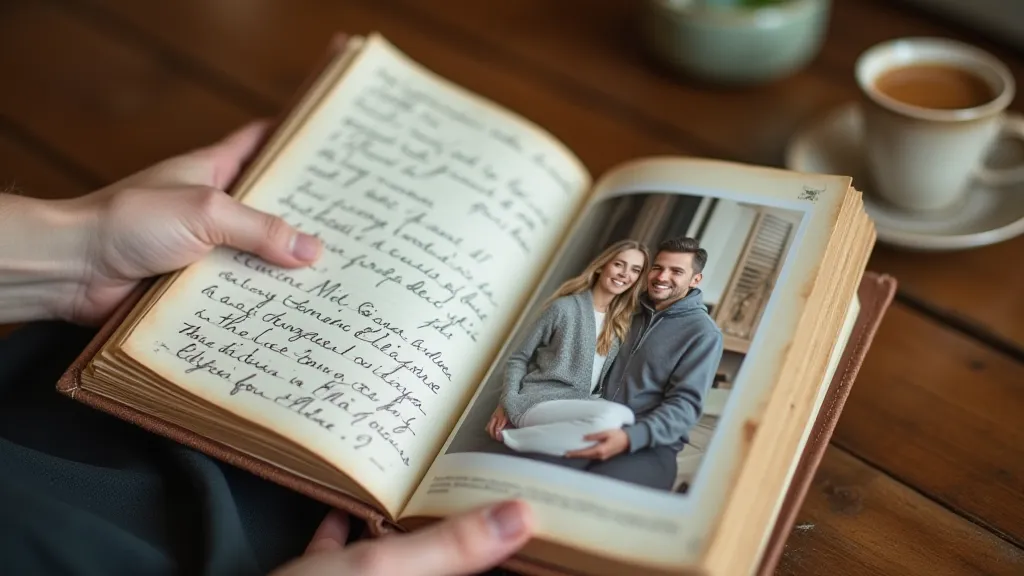
Photo Placement and Journaling
The true heart of a memory book lies in the placement of your photos and the stories you tell alongside them. Consider these tips:
- Chronological Order: Arrange photos in chronological order to tell a clear narrative.
- Group Similar Photos: Group photos from a specific event or theme together.
- Mix and Match: Don't be afraid to mix full-page photos with smaller snapshots and collages.
- Journaling: Write captions, stories, or reflections alongside your photos. This adds a personal touch and provides context for future generations.
- Embellishments: Use decorative elements to enhance the visual appeal of your memory book.
Conclusion
Creating a memory book is a deeply rewarding experience. It’s a labor of love that combines practical bookbinding skills with creative expression, resulting in a cherished keepsake that can be enjoyed for years to come. Embrace the process, be patient, and let your creativity shine!