Introduction to Coptic Binding: A Beginner's Guide
Coptic binding is a captivating and ancient bookbinding technique known for its exposed spine and distinctive chain-stitched binding. It’s surprisingly accessible to beginners and produces a beautiful, durable, and visually striking handmade book. This guide will walk you through the fundamentals, equipping you with the knowledge and skills to create your own Coptic-bound book.
What is Coptic Binding?
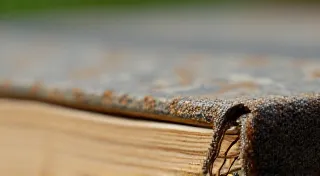
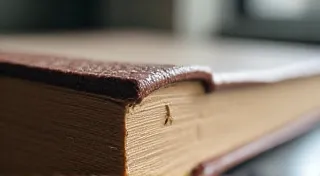
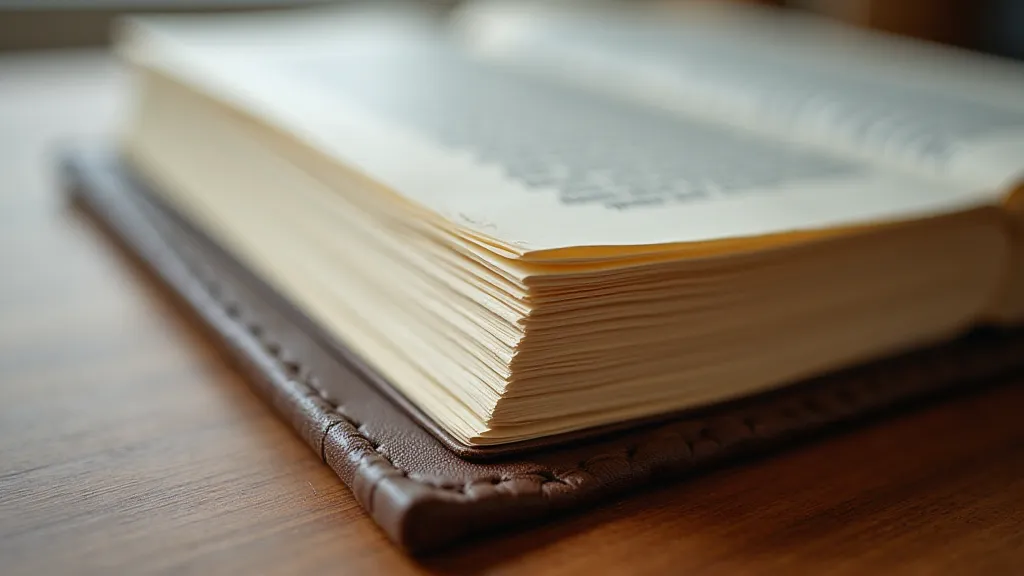
The name "Coptic" originates from the Coptic Christians of Egypt, who extensively used this binding method for their religious texts. It's characterized by the spine being visible, with the pages being sewn together through the fold. This allows the book to lie flat, a key advantage for writing or drawing within the book. Its longevity is also remarkable; many ancient Coptic-bound books still exist today, a testament to the robustness of the technique.
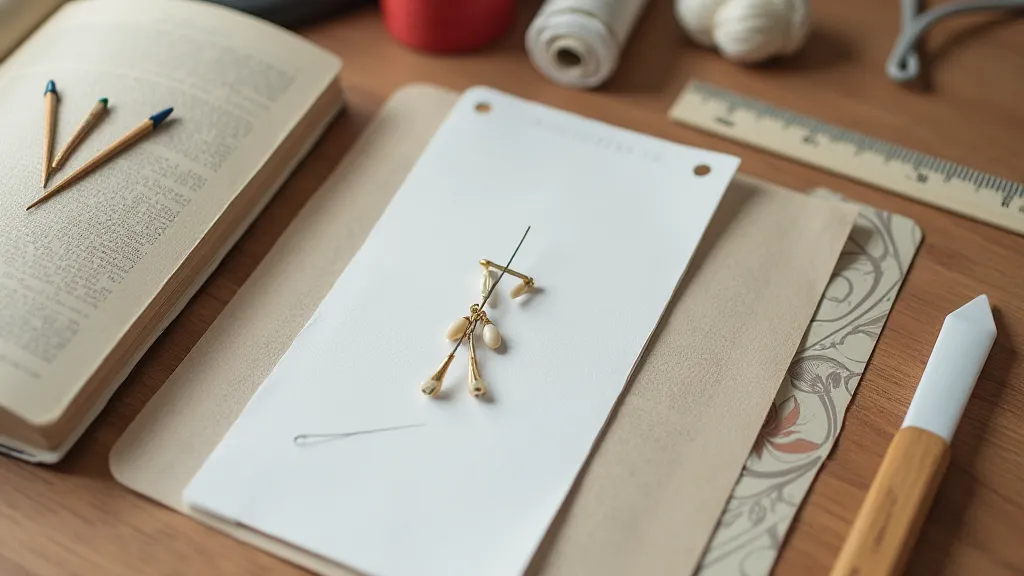
Materials You’ll Need
Gathering the right materials is the first step to a successful Coptic binding project. Here's a comprehensive list:
- Book Board/Cover Material: Thick cardboard, book board, or decorative paper/fabric (for a more decorative cover). Around 21cm x 28 cm is a good starting size.
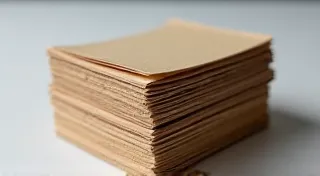
- Text Block Paper: Choose paper suitable for your project. Writing, drawing, or printing paper works well. Around 50-80 pages.
- Bookbinding Thread: Strong linen or waxed thread is ideal.
- Bookbinding Needle: A large-eyed needle specifically designed for bookbinding.
- Awl or Piercing Tool: For creating holes in the book board and paper.
- Ruler: For accurate measurements.
- Bone Folder: For creasing the paper and creating crisp folds.
- Cutting Mat & Craft Knife/Scissors: For precise cutting.
- Pencil: For marking measurements.
Step-by-Step Guide: The Coptic Binding Process
- Prepare the Cover Boards: Cut two pieces of your cover material to the desired size. Ensure they are slightly larger than the text block (e.g., 25cm x 29cm).
- Prepare the Text Block: Fold your paper in half to create a book signature (a collection of pages folded together). The number of pages per signature will vary depending on the thickness of the paper.
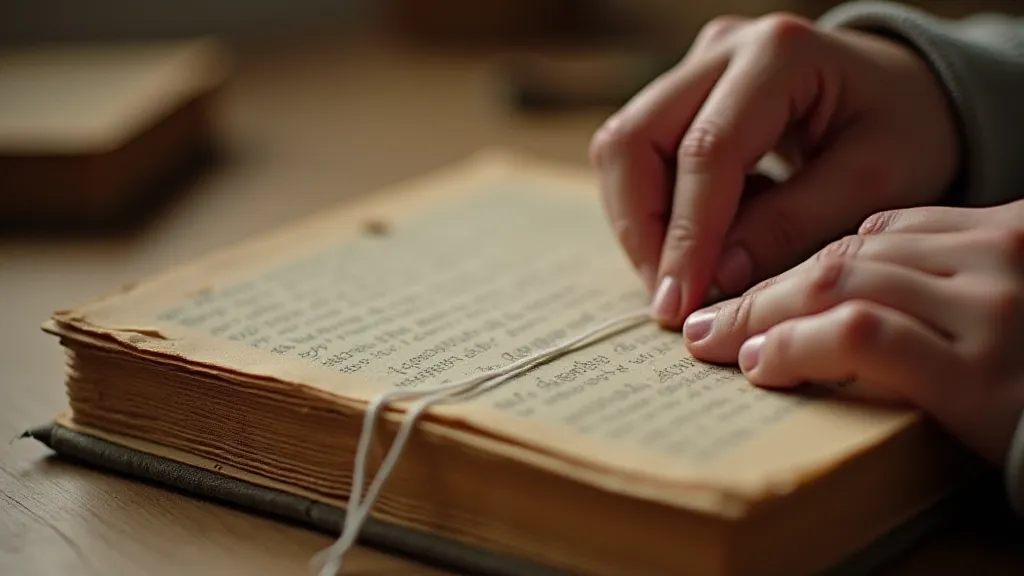
- Mark and Pierce Holes: This is arguably the most crucial step. Measure and mark the holes along the spine of both the cover boards and the text block signatures. The number of holes typically ranges from 4 to 7. Accuracy is essential – the holes must be aligned perfectly. Use your awl to carefully pierce through the marked spots.
- Sewing the Text Block: Begin sewing the signatures together using a chain stitch. Start from the inside of the first signature and work outwards, sewing each signature to the next.
- Attaching the Cover: Once the text block is complete, sew the cover boards to the text block, mirroring the hole pattern you created earlier.
- Finishing Touches: Trim any excess thread and check that all the signatures are securely attached.
Tips for Beginners
- Practice on Scrap Paper: Before tackling your main project, practice the hole-piercing and stitching process on scrap paper to get the hang of it.
- Accuracy is Key: Pay meticulous attention to alignment when marking and piercing the holes. Misaligned holes will make the stitching process significantly more difficult.
- Don't be Afraid to Experiment: Once you're comfortable with the basic technique, experiment with different papers, fabrics, and stitching patterns.
- Tighten your stitches: This will ensure the stability of the book.
Beyond the Basics
Coptic binding offers a gateway to a wider world of bookbinding. Once you’re comfortable with the fundamentals, you can explore variations in cover design, decorative stitching, and even incorporate different paper types and embellishments. It's a craft that encourages creativity and allows you to create truly unique and personalized handmade books.
Conclusion
Coptic binding is a rewarding craft that connects you to centuries of bookmaking tradition. With a little patience and practice, you can create stunning, functional, and personalized handmade books. Happy binding!