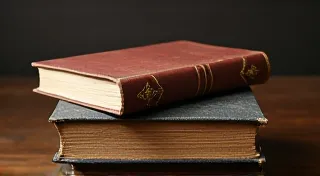
Making a Sketchbook: Bookbinding for Artists
Creating your own sketchbook is a deeply satisfying project, blending the art of bookbinding with the freedom of artistic expression. This tutorial caters specifically to artists, guiding you through the process of making a sketchbook tailored to your preferred drawing or painting materials. We’re going to cover paper selection and several basic bookbinding techniques, offering options for different skill levels.
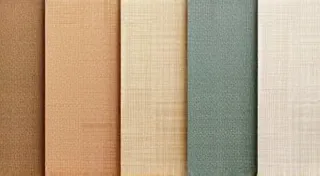
Choosing the Right Paper
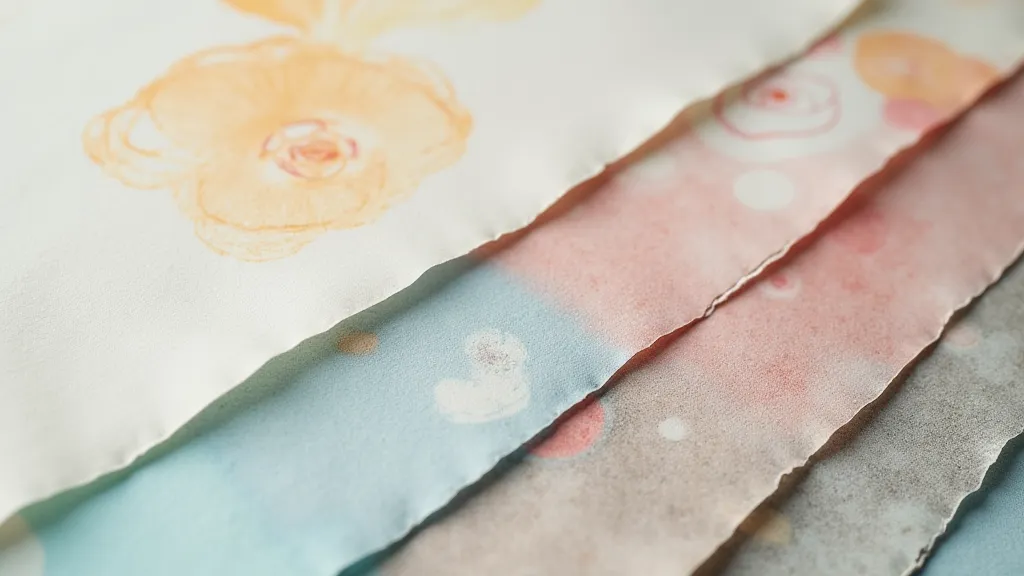
The heart of any sketchbook is its paper. Selecting the right paper is crucial for the longevity and usability of your finished product. Consider what mediums you’ll be using – pencils, charcoal, pastels, watercolors, or mixed media.
- For Dry Media (Pencil, Charcoal, Pastels): Look for a paper with a good "tooth" – a slightly rough surface that allows the media to grip. A weight of 70lb (110gsm) or higher is generally recommended.
- For Wet Media (Watercolor, Ink): Choose a thicker, watercolor-specific paper with a weight of 140lb (200gsm) or higher. Look for paper that's labeled "cold press" for a textured surface or "hot press" for a smooth finish.
- Mixed Media: Consider a paper specifically designed for mixed media techniques – these typically offer a good balance of texture and weight to handle a variety of mediums.
Basic Bookbinding Techniques for Your Sketchbook
We'll explore a few bookbinding methods that are accessible to beginners but yield beautiful and functional sketchbooks.
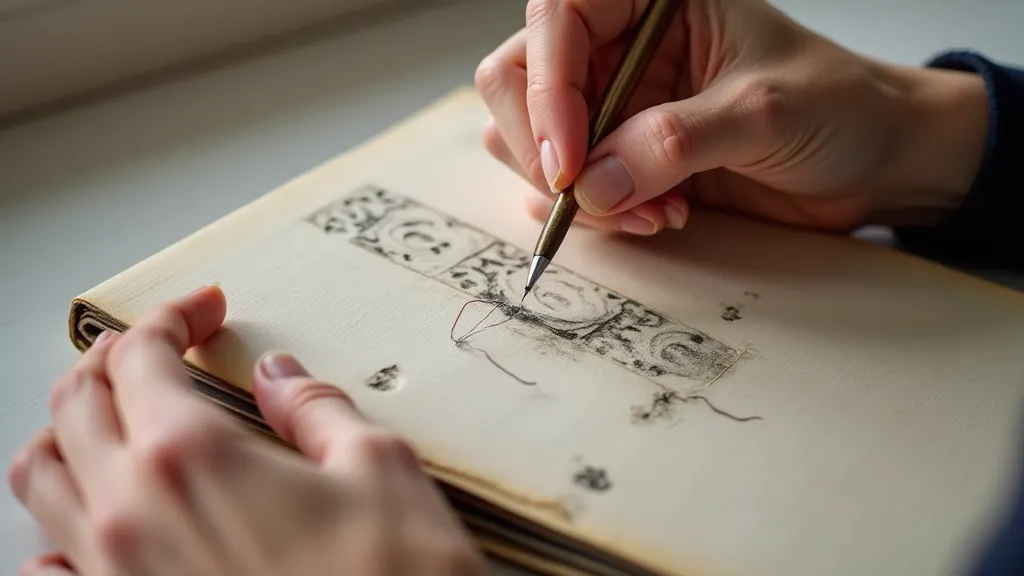
1. Japanese Binding (Four-Hole Stitch)
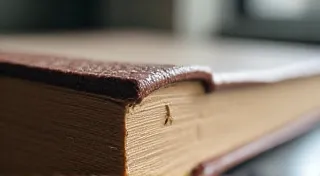
Japanese binding, also known as the four-hole stitch, is a simple and elegant method that showcases the beauty of the paper edges. It's perfect for creating a sketchbook with a clean, minimalist aesthetic.
- Gather Signatures: Fold your paper sheets in half to create signatures.
- Align and Stack: Stack the signatures neatly, ensuring the edges are aligned.
- Mark Holes: Mark four equally spaced holes down the spine of the stack.
- Punch Holes: Using an awl or small drill, carefully punch holes through all the signatures.
- Sewing: Thread a strong needle with a long length of binding thread. Sew the signatures together using a simple four-hole stitch.
- Finishing: Trim the edges of the sketchbook to create a clean, even border.
2. Coptic Binding
Coptic binding offers a durable and visually interesting structure. Its exposed spine allows the book to lay flat, which is ideal for sketching across two pages. It requires a bit more precision but is a rewarding project.
- Gather and Fold: As with Japanese binding, fold your paper into signatures.
- Prepare the Cover: Create a cover using thicker paper or book cloth.
- Punch Holes: Punch holes through the signatures and cover boards, ensuring accurate alignment.
- Sewing: Sew the signatures to the cover boards using a distinctive Coptic stitch. This involves looping the thread around the boards and then through the signatures.
- Finishing: Tighten the binding and trim the edges.
3. Simple Saddle Stitch
The saddle stitch is the most basic binding method, ideal for smaller sketchbooks with fewer pages. It involves folding the pages in half and stapling them through the spine.
- Fold Pages: Fold your paper sheets in half.
- Align Spine: Align the spines of the folded sheets.
- Staple: Using a long-reach stapler, staple through the spine.
- Finishing: Trim the edges if necessary.
Tips for Artists
- Experiment with Paper Types: Don't be afraid to try different paper textures and weights to see what works best for your style.
- Consider the Spine: The spine is an often-overlooked area. You can decorate it with fabric, ribbon, or decorative stitching.
- Lay-Flat Binding: Prioritize a binding method that allows the book to lay flat, making it easier to sketch across double-page spreads.
Conclusion
Making your own sketchbook is a wonderful way to connect with your art practice and create a truly personalized tool. Start with a simple technique like the Japanese stitch or saddle stitch, and as your skills develop, experiment with more complex bindings like the Coptic stitch. Enjoy the process and the satisfaction of creating something beautiful and functional with your own hands!