Creating a Simple Case Binding Book: A Step-by-Step Guide
Learn the classic Case Binding technique, used for creating durable and professional-looking books. This tutorial guides you through the entire process, from creating the text block to attaching the cover.
What is Case Binding?
Case binding is a strong and traditional bookbinding method resulting in a book with a separate cover (the "case") attached to the text block. It’s commonly used for hardback books and offers excellent longevity. While it seems complex, breaking it down into steps makes it surprisingly achievable for the home bookbinder.
Materials You’ll Need
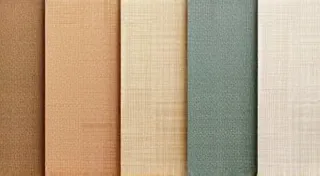
- Bookbinding paper (or your preferred paper for the text block)
- Cover board (heavy cardstock or book board, thicker than standard cardstock)
- Endpapers (decorative paper, optional)
- Thread (strong linen or waxed cotton thread is best)
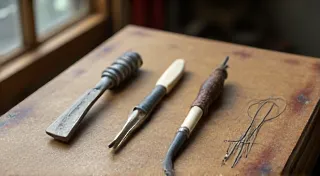
- Needle (bookbinding needle – long and strong)
- Bone folder
- Awl
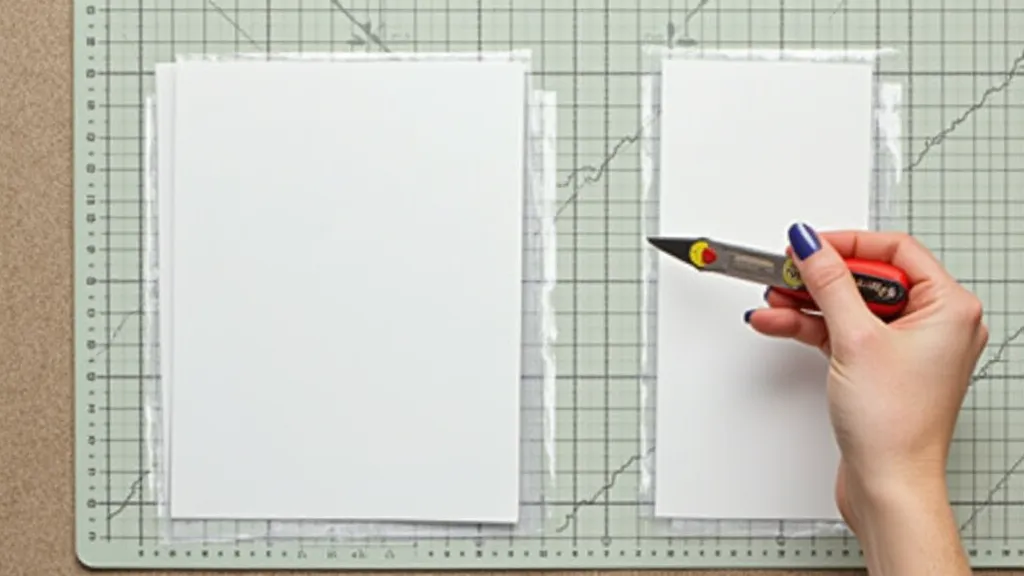
- Cutting mat
- Ruler
- Craft knife or scalpel
- Glue (PVA or bookbinding glue)
- Weights (heavy books or bookbinding weights)
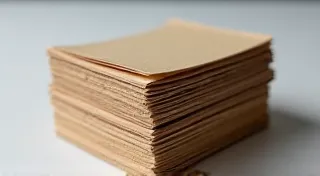
Step 1: Creating the Text Block – Folding and Sewing
First, we'll create the "text block," which is the stack of pages that will form the core of the book.
- Folding the Sheets: Fold your paper sheets in half, ensuring the fold is crisp and even. Use a bone folder to crease the fold firmly. The number of sheets you fold depends on your desired page count – a common signature (group of pages) is 5 or 8 sheets.
- Creating a Binding Hole: Use an awl to pierce through the folded sheets, creating a single hole in the center of the fold. This is your sewing hole.
- Sewing the Signatures: Using a bookbinding stitch (like a kettle stitch or chain stitch - look for tutorials online!), sew the signatures together. Kettle stitch is recommended for beginners. Pull the thread taut and secure tightly.

Step 2: Preparing the Endpapers (Optional)
Endpapers are decorative sheets that attach the text block to the cover. They offer a visual flourish and strengthen the binding.
- Folding and Attaching: Fold your endpaper sheets in half. Apply a thin layer of glue to the folded edge of one endpaper and carefully attach it to the first signature (the newly sewn text block). Repeat for the last signature.
Step 3: Creating the Book Cover
Now, let’s make the cover, which will be separate from the text block.
- Measuring and Cutting: Measure the height and width of your text block. The cover should be slightly larger (about 1/8 inch on each side) to protect the pages. Cut two pieces of cover board to these dimensions.
- Spine Creation: The spine is the thickness of the text block. The cover boards will be joined to create this spine.
Step 4: Attaching the Text Block to the Cover
This is the final, crucial step where the text block is secured within its case.
- Gluing the Spine: Apply a thin, even layer of glue to the spine of the text block.
- Positioning and Securing: Carefully position the glued spine between the two cover boards, ensuring it's centered. Use weights to press the cover and text block together firmly while the glue dries completely – this is critical for a strong, lasting bind.

Finishing Touches
Once the glue is fully dry, remove the weights. You can now trim any uneven edges (though this is optional) and add any further decorations or embellishments to your cover.
Congratulations! You’ve created a simple case binding book. With practice, you’ll refine your technique and create beautiful, durable handmade books.